We may receive a commission on purchases made from links.
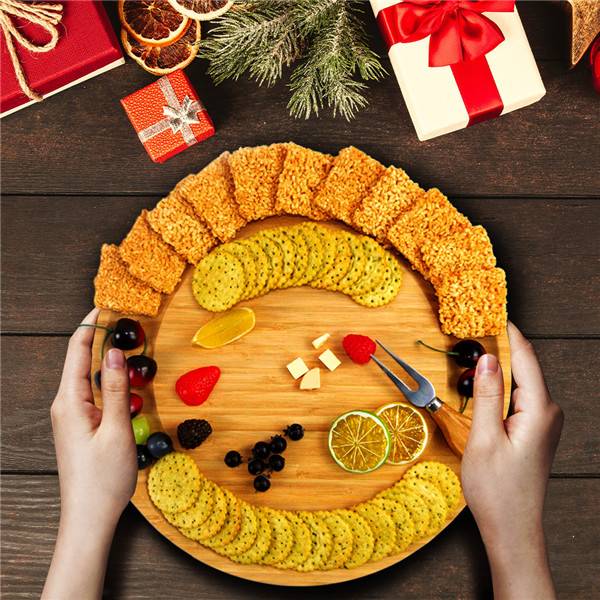
Ask yourself (in a Jerry Seinfeld voice, if you remember him): "What's the deal with drawer organizers? Are those extra spaces for dessert forks and luncheon knives? And how long are these people's butter knives, anyway?" If you've bought a typical kitchen drawer tray for organizing silverware, you probably know what we're talking about here. They have odd spaces, are often too shallow to hold much, and the sizes of the compartments suggest, well, some other way of eating. And we all have our own stuff, a unique mix of flatware, pacifiers, cocktail forks, metal straws, and those springy balls you put in shakers to help mix your protein powder. Where are you going to find something that accommodates all of those things? The answer might be a DIY project away, using only some wood, a saw, wood glue, and clamps. Cutting Board With Trays
When you look at a drawer divider — basically a tray with thin-walled compartments — It seems like a dauntingly fiddly undertaking, but TikTok DIYer @fromgrittopearl shows how to do it as simply but precisely (and as positively cutely) as possible. She hasn't always been on the DIY divider plan, either. In February of 2022, she posted a video of herself happily storing a bunch of random things in a couple of Neat Method organizers from Anthropologie; we'll come back to those. What's important to know is that sometimes DIYing this project makes sense, and sometimes it's not really necessary. It all depends on what you plan to organize.
While I know most drawer organizers aren’t super expensive, it is hard to find them in the exact size and layout I want…so why not make them myself? #organizedhome #kitchenorganization #kitchenrenoonabudget #kitchendiy #diykitchen
Before you plan your DIY drawer divider, think through what's going in it. A silverware tray can be tailored to your particular needs. On the other hand, a junk drawer tray full of random things really can't. There are solutions with random compartments you can use to organize items in your junk drawers. You can potentially save a little money by DIYing. The best-selling drawer organizer at Amazon is the Pipishell Bamboo Expandable Drawer Organizer is currently $24.57; the Anthropologie organizers were around $40 each (they're no longer available). By comparison, a 2-inch poplar craft plank from Home Depot will run you $3.13, and you'd better buy two — just to be safe. Assuming you have a saw, wood glue, and clamps, that means you can DIY a drawer divider, TikTok-style, for $6.26. Not too bad.
It's not all about savings, though. As @fromgrittopearl points out, a lot of the purpose is customizing the divider to fit in your drawer and to hold your particular stuff. While you're at it, you could also follow her lead and create vinyl stickers to create custom picture labels for your compartments, using a vinyl cutter like a Cricut. You can also use this approach for other things, like a snack storage drawer in place of your pantry. Perhaps most importantly, you can also clean these DIY dividers more easily than the removable trays.
A DIY drawer organizer gives you what you put into it. (See what we did there?) For this particular DIY project, you'll put in a few feet of craft planks (typically $3 to 5, depending on the species of wood and the quantity you buy) and the aforementioned glue ($4 at Walmart). Expanding on @fromgrittopearl's process, start by emptying and cleaning your drawer. Lay out the space by spacing one of each type of item in the area to be created for it. She then mocks up the dividers with painter's tape and takes measurements from that. The potential trouble is that the painter's tape is almost certainly a different thickness than your boards think each measurement through, or else your're likely to measure wrong.
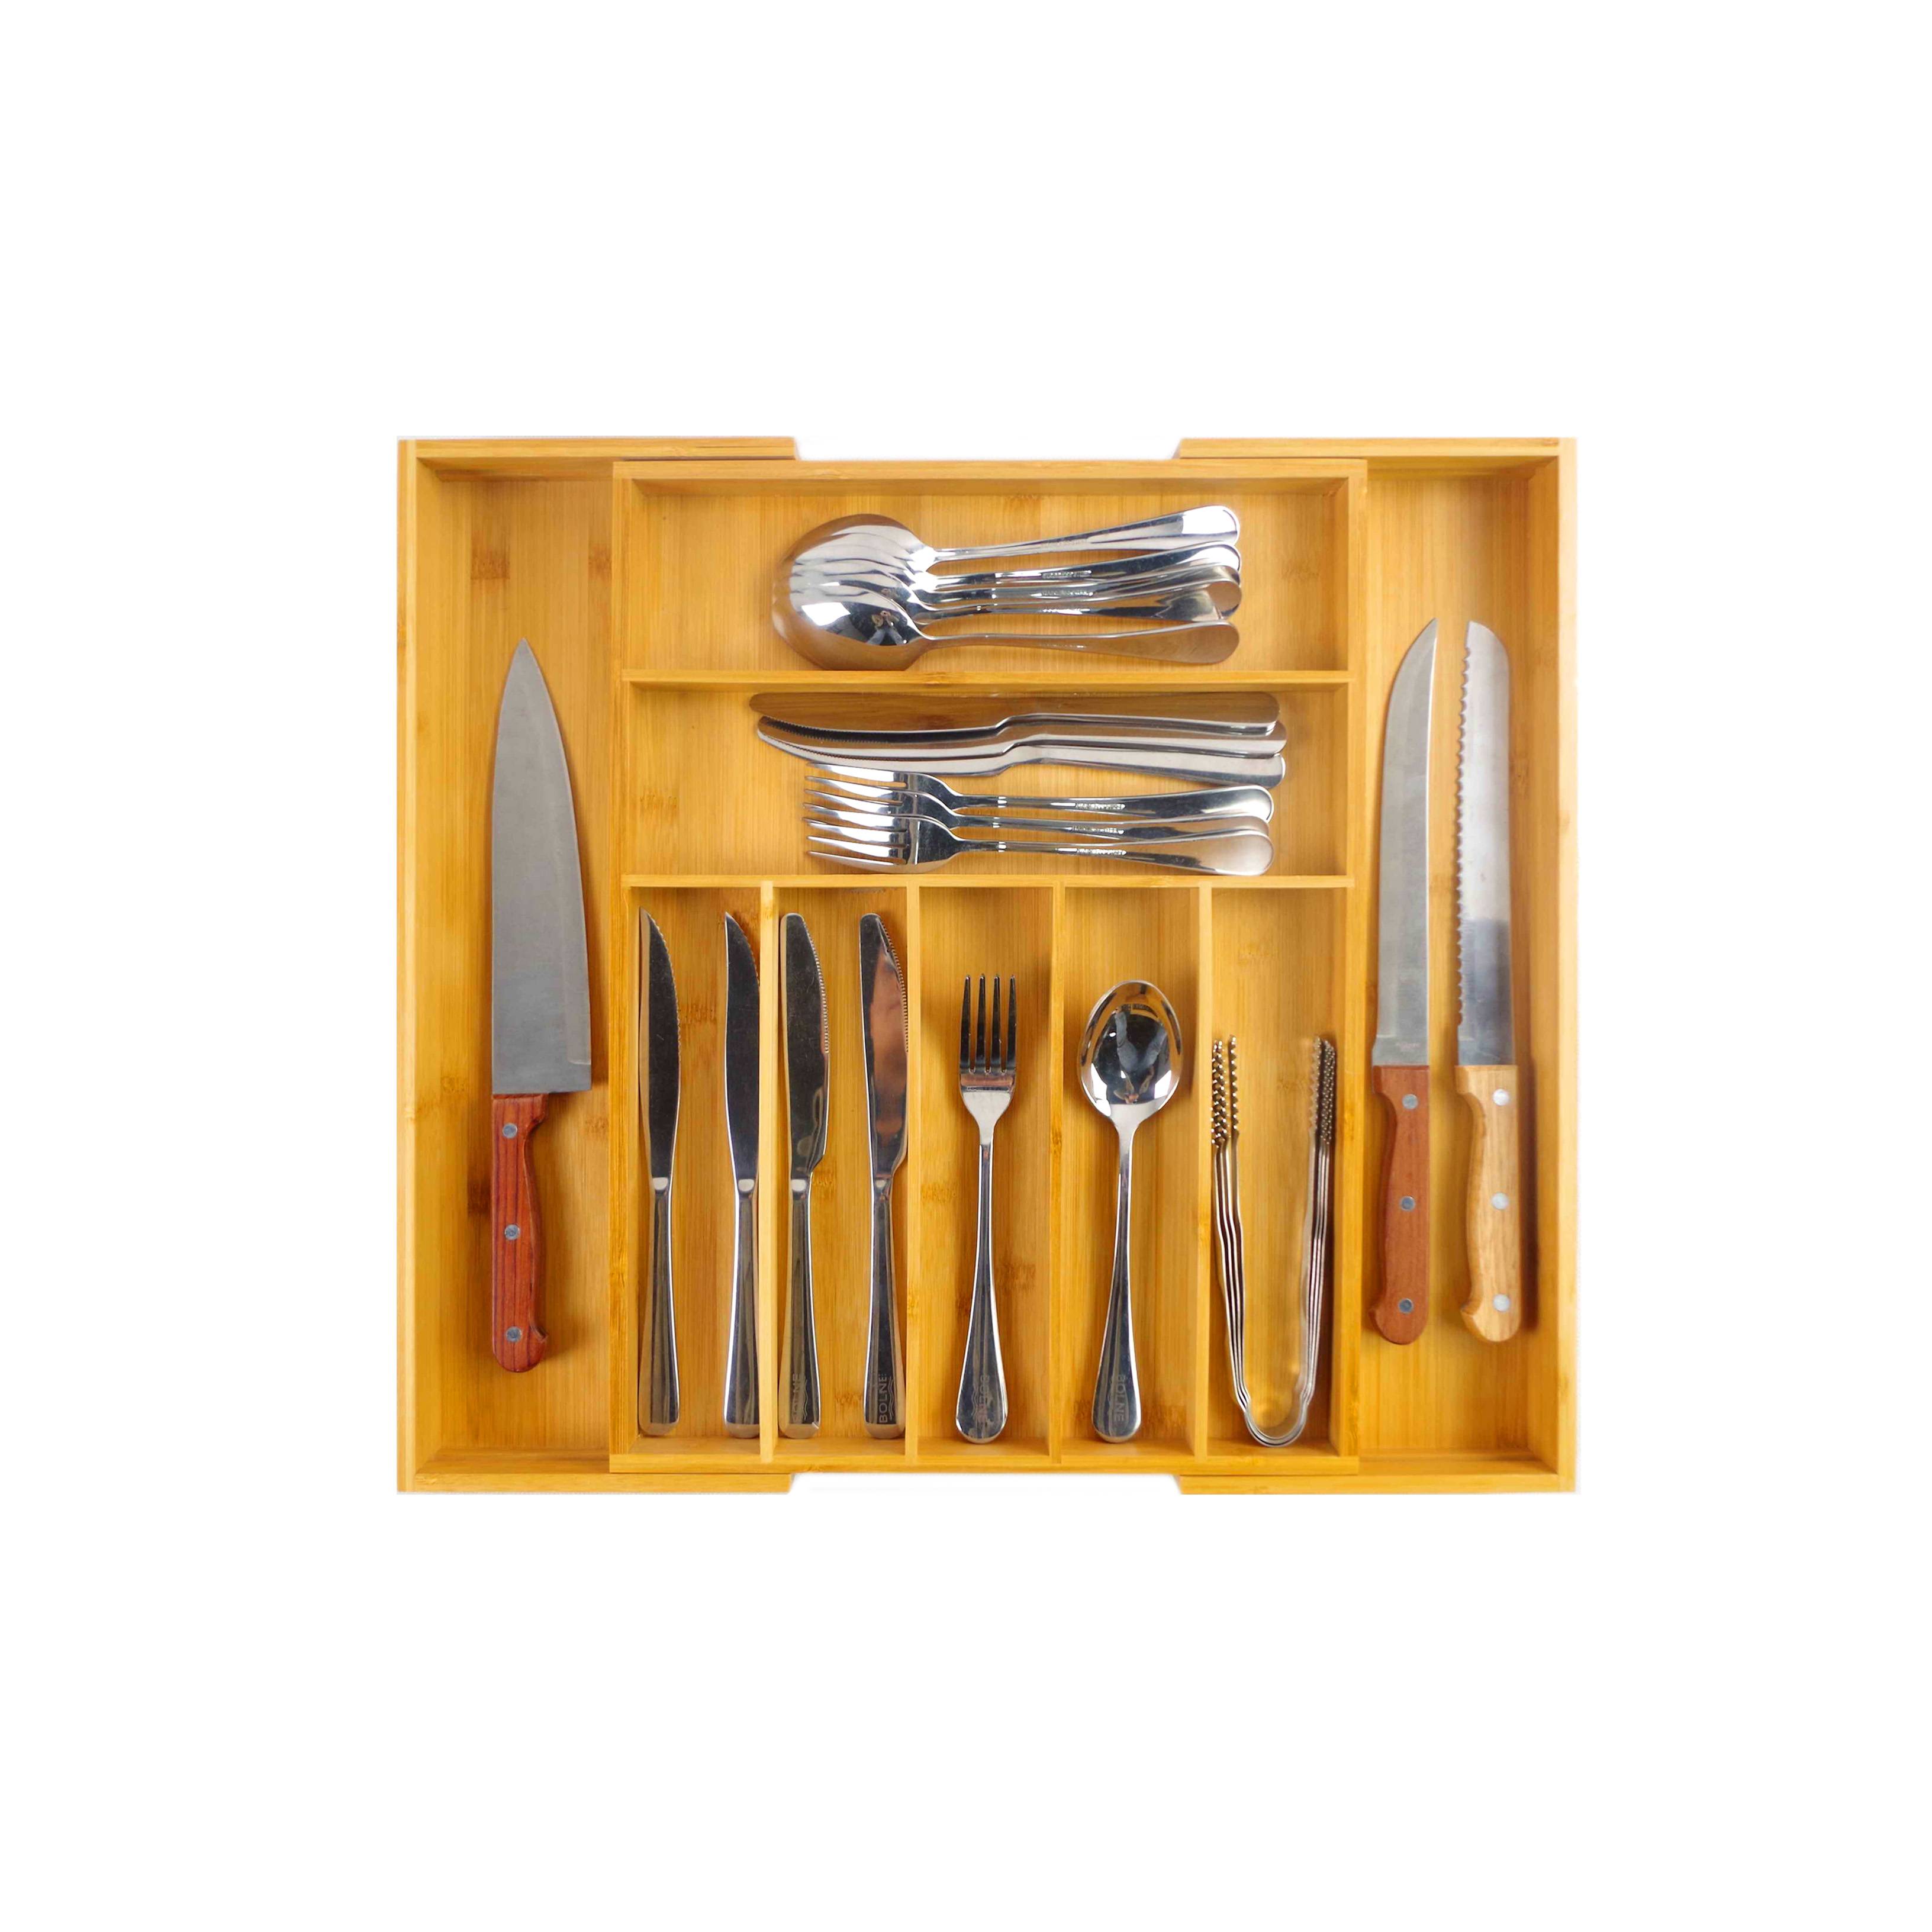
Charcuterie Board You'll need your boards next. You'll want boards (poplar is most common) at least 1 ½ inch wide. You can go as wide as 3 ½ inches, but this makes the compartments deeper and more difficult to fish things out of. (The best-selling Amazon divider mentioned above is about 2 inches from top to bottom). Cut whichever boards you choose to length using the best method available to you. It's super-critical that they are cut perfectly square. Glue the boards together with polyvinyl acetate (PVA) wood glue and clamp each joint individually. The glue dries fast, so clamping one joint at a time is much easier. Sand the board ends if needed to give your organizer a tight fit, and you're done!